Window boxes on a budget: 5 money-saving tips
Cutting your cost on curb appeal
Window boxes are an important element to creating stunning curb appeal, and they don’t have to be expensive. In fact, with a little creativity, good planning and patience, creating window boxes that make a real statement can cost pennies rather than taking a major chunk out of our pay cheques.
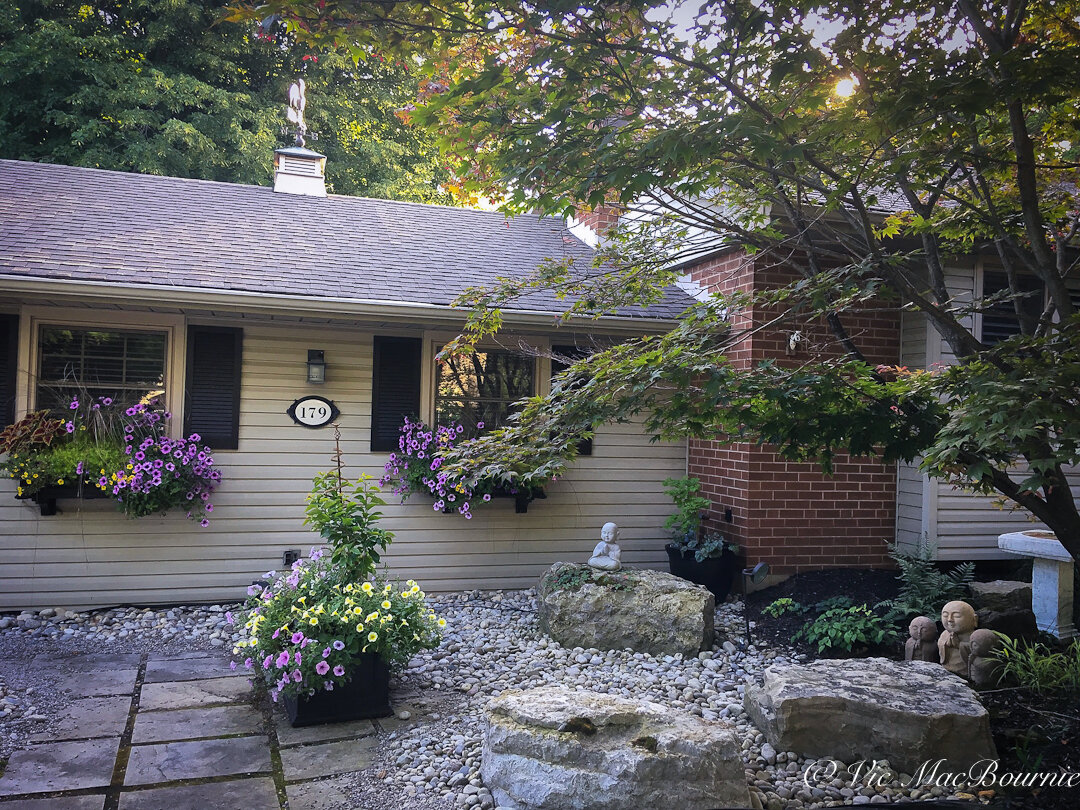
The two self-watering window boxes on the front of our home have quickly become the focal point of our home’s curb appeal over all four seasons.
In spring window boxes can be packed with bulbs. In summer they are loaded with fillers, thrillers and spillers and at their prime. By fall and winter window boxes provide the opportunity to create themed boxes featuring pumkins, ghords, dried leaves and grasses. In winter, evergreen boughs spill out between colourful Christmas balls. Just add some white twinkle lights and you’re set.
So if you haven’t given much thought to installing window boxes, now just might be a good time to consider them. There are a number of models available on the market.
For more on building your gardening on a budget, check out my in-depth article here.
This image show the front of the home with window boxes and matching container withing a Japanese-style garden
Mayne window boxes provide lots of options
We chose to go with the Mayne Fairfield 4-ft self-watering black window box mostly because they offered the self-watering feature, were black and came in the exact size we wanted.
For more suggestions and some of my favourite garden things, be sure to check out my Favourite Things post.
Buying or building window boxes on a budget
The Mayne window boxes are a New England style window box made from 100 per cent high-grade polyethylene with a double wall construction that creates the water reservoir and helps to insulate the plants from temperature extremes.
They can hold approximately 4 gallons of water with a soil capacity of 9.5 gallons. We purchased the optional decorative wall mount brackets in the same powder coated finish. The brackets, although they are mostly decorative, make the window boxes look more authentic and substantial.
An example of one of our window boxes with Toffee Twist Carex as the thriller with supertunias, coleus and other annuals adding colour and texture to the grouping.
If you are a little handy and looking to save even more money, there are lots of plans on the internet that will take you through simple steps to build your own out of wood.
Extra precautions would be needed to protect the wood against rotting from constant watering and the weight of the units after filling them with soil, water and plants.
But this post is not about building window boxes on a budget. I’ll leave that for the handy guys.
This is about planting them up on a budget-friendly approach so that we can use any remaining funds to get our containers planted up as well.
One of the surprising benefits of installing our window boxes is that they create an opportunity to add a little fun, whimsy, colour and seasonal interest to the front of our home on a small scale, but in a very budget-friendly manner.
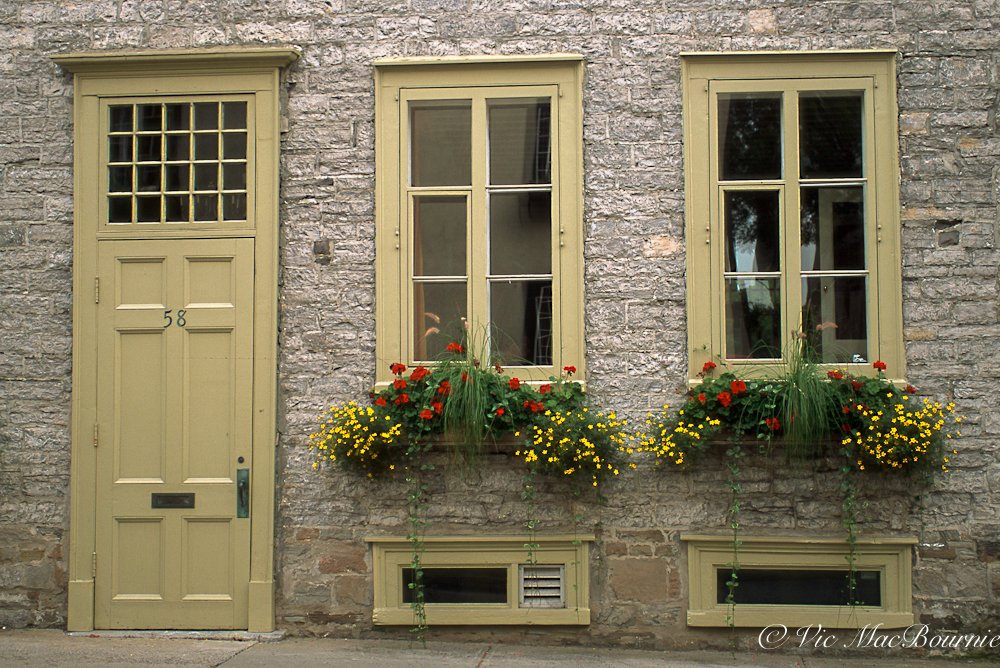
A quick stroll through Pinterest or google will reveal some spectacular examples of beautiful window boxes packed with thrillers, fillers and, of course, spillers. It doesn’t take long, however, to see that more than a few pennies were spent creating these wonderful window boxes.
Tips to planting boxes on a budget
Our goal is to find ways to cut costs and still get outstanding results.
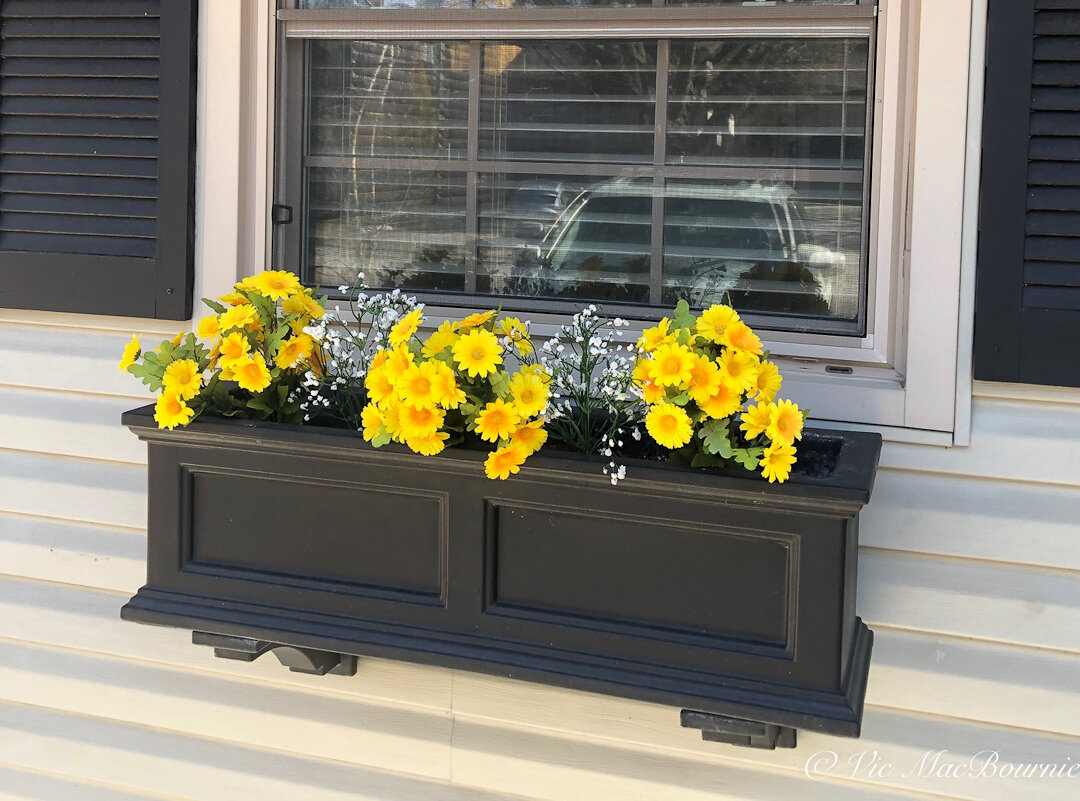
Budget-friendly Tip #1: Go to your nearest Dollar Store and go on a buying binge: fake flowers, fake ferns, fake greenery even fake fall leaves – anything that might be appropriate for your seasonal window box designs.
The artificial flowers are, of course, the best. They come in handy in early spring to create spectacularly colourful looking window boxes entirely of fake flowers and greenery.
They are a great way to get you into the garden spirit when the snow is on the ground and the mornings are too frosty to have anything growing. It’s mid March in our area of Canada and our window boxes are filled with yellow daisy-like flowers surrounded by Pearly Everlastings.
The Dollar Store finds can by used year after year for a punch of spring color but don’t stop there. They are also vital to create that full look in the window boxes before your live plants have taken hold.
The fake flowers are the perfect placeholders well into the summer as you await the full impact of the live plants. You can even combine real flowers and fake flowers right through the summer to keep your window boxes in flower and looking full.
The artificial plants tend to disappear as the real ones begin to take over the boxes.
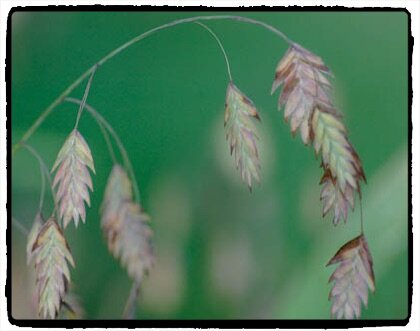
The perennial Northern Sea Oats can be used in window boxes for a year or two before making its way back into the garden.
Budget-friendly Tip #2: Consider growing your container plants from seed in the months leading up to spring. Many of these container plants are ideal to grow from seed. You likely won’t need too many plants to fill your containers, so even if you don’t have the room or equipment to grow plants on a large scale, you could grow a handful of container plants from seeds at a kitchen window. I use the Click and Grow system which makes growing seeds super simple. In fact, two of the plants, a magenta petunia and a black viola that we used in this year’s boxes are grown from seeds in our Click and Grow. More on the Click and Grow on this earlier blog post.
A few container plants your can easily grow from seed:
• Sweet Alyssum is are quick to germinate and should be started indoors several weeks prior to the last frost. It likes full sun to partial shade, is available primarily in white or purple and makes for a nice filler. Some of the newer varieties are more full and will spill out of the boxes more readily.
• Nasturtium is super easy to grow from seed. It is available in yellow, orange and red blooms, that are eatable with a peppery flavour, and are quick to germinate once they have gone through a stratification period for 24 hours. These trailing or semi-trailing plants are happy in sun but also do well in part shade. Varieties are available with handsome foliage including some that are variegated. Collect the seeds for more flowers net season.
•Zinnias can be a showstopper in your window box with their bright colours. Their mounding growth habit makes them ideal as a colourful filler and their height and abundance of flowers throughout the summer (in the range of 9 to 12 inches) makes them a thriller candidate.
• Dusty Miller brightens up a window box with its soft, grey foliage and contrasting colour and texture. It can be grown form seed sown early indoors 4-6 weeks before the last heavy frost and moved to the window box after the last frost. These are tough, drought-resistant plants.
More tips for your containers
Budget-friendly tip #3: Use perennials that are already growing in your garden. There are so many perrennials to choose from. The best part is that you can leave them in the window box rather than replanting them every year.
Using your existing perennials just might be the best advice I can give to save money planting your window boxes. Spring is the ideal time to divide your perennials. What to do with all the extra plants? You can spread the divisions around the garden and still have some left over to experiment with them in your window boxes. Some of the best plants to consider are small to medium grasses that can really look great spilling out of the window boxes. In fact, this year we are using two grasses in our window boxes that were taken this spring as divisions from the perennial gardens: Northern Sea Oat grasses are being used as the Thriller (see image above), and Little Bluestems are being used as filler both in our window boxes and in a large container in the backyard.
I’m looking forward to seeing how the bobbing flat seedheads on the Northern Sea Oats that start out green but eventually turn from buff-coloured to a deep bronze will look through the summer and into the fall. If I like them enough, I can leave them to use again the following year.
And, since the seed heads are attractive with a dusting of snow, they could be left in the boxes and used as decorative elements until the spring when they can be popped out and planted back in the garden.
A few years years ago, we used Proven Winner’s Toffee Twist Carex as the thriller in the boxes. PW describes the unique grass as slender, with iridescent leaves that offers an elegant sweeping, trailing habit. Some may describe the 18-25-inch tall plant as looking dead with its bronzy brown appearance, but it works well in a container. Considered an annual where I live, it can be overwintered in zones 7 through 10.
Small fountain grasses, and Sedges such as Carex buchananil, comans, elata, flagellifera, and testacea are easy to grow, low maintence and tough. (check here for images of many of these Sedges)
For more bold statements, consider using smaller hostas as filler plants. The more upright, taller hostas, especially those with variegated or blue varieties can even be used as thrillers for a season before they return to the garden to continue growing.
Other perennials in your garden you might want to consider are Heucheras. Since they are primarily foliage plants and available in a variety of colours and leaf styles, they make excellent fillers and some can even work as spillers.
Don’t forget ferns (especially Japanese Painted ferns), Snow in Summer (grey foliage with a profusion of white flowers), Sedums, Creeping Thyme and Forget-Me-Nots just to name a few.
Budget-friendly tip #4: Much like the previous tip – using perennials from your garden – purchasing perennials for use in your window box with the express purpose of eventually moving them into the garden can be a very budget-friendly approach to gardening. By purchasing perennials when they are smaller plants, and using them as a filler plant for the first year or two while they fill out in size before planting them out in the garden, you can get double the production out of them.
I have used Japanese Forest grass (Hakonechloa) All Gold in the window boxes for a year before pulling them out in the fall and planting them out in the garden. After a season of growth, it’s even possible to split the grasses into two before planting in the garden.
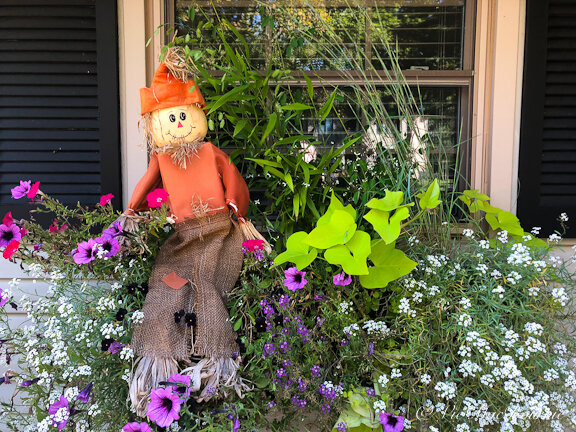
Window box in fall decor just to add a little whimsy as the garden season draws to an end.
Budget-friendly tip #5: Be creative when putting together your window box. You might want to use it as an opportunity to grow fresh herbs, or even vegetables. Cherry tomato plants are being bred to be grown in containers and can be used both as thrillers (if they are staked) or spillers cascading out of the window boxes surrounded by flowers. The herbs and tomatoes can all be grown from seed to save costs and they will more than pay for themselves at dinner time.
In addition, Don’t be afraid to use indoor plants in creative ways. the variegated ivy that is so popular with indoor plant enthusiasts is a great addition to outdoor window boxes and containers.
Also, plants like the polka dot plant, another popular houseplant, works very well in a window box. In fact, I am in the process of growing one in my Click and Grow device that is slated for my window boxes once summer rolls around. My plan is to continue to grow the plant until I can take a couple of snippets. Those snippets will be grown in water until I get roots. Those snippets will be my house plants, while the original seed-grown plants will be outdoor plants until fall threatens. That will give me 3-5 plants from a couple of seed-grown pods grown in a small device in our kitchen. Now that’s frugal at its best.
Gardening on a budget links
Ten money-saving tips for the weekend gardener
DIY Bark Butter feeder for Woodpeckers
DIY reflection pond for photography
Click & Grow is ideal for Native Plants from seed
Remove your turf and save money
Hiring students to get your garden in shape
This page contains affiliate links. If you purchase a product through one of them, I will receive a commission (at no additional cost to you) I try to only endorse products I have either used, have complete confidence in, or have experience with the manufacturer. Thank you for your support.

