The perfect ground cover for hot, sunny and dry areas in the garden
Elegant grey foliage, white flowers make snow in summer a great choice for sunny spots
If you are looking for a ground cover for a sunny, hot and dry area, look no further than the grey foliage and lovely white flower of Snow in Summer.
The ground cover affectionately named “snow-in-summer” is a favourite of mine. Its bloom is actually something I really look forward to each year. Snow-in-summer or Cerastium tomentosum is an herbaceous perennial that blooms alongside our wild geranium in early June.
It sits maybe 8-12 inches high and each plant quietly spreads out to form a dense mat of foliage to a width of 12 to 18 inches. Hardy in USDA plant hardiness zones from 3 to 7, this more or less well-behaved, delicate ground cover – a member of the carnation family – is valued for more than just its early summer bloom.
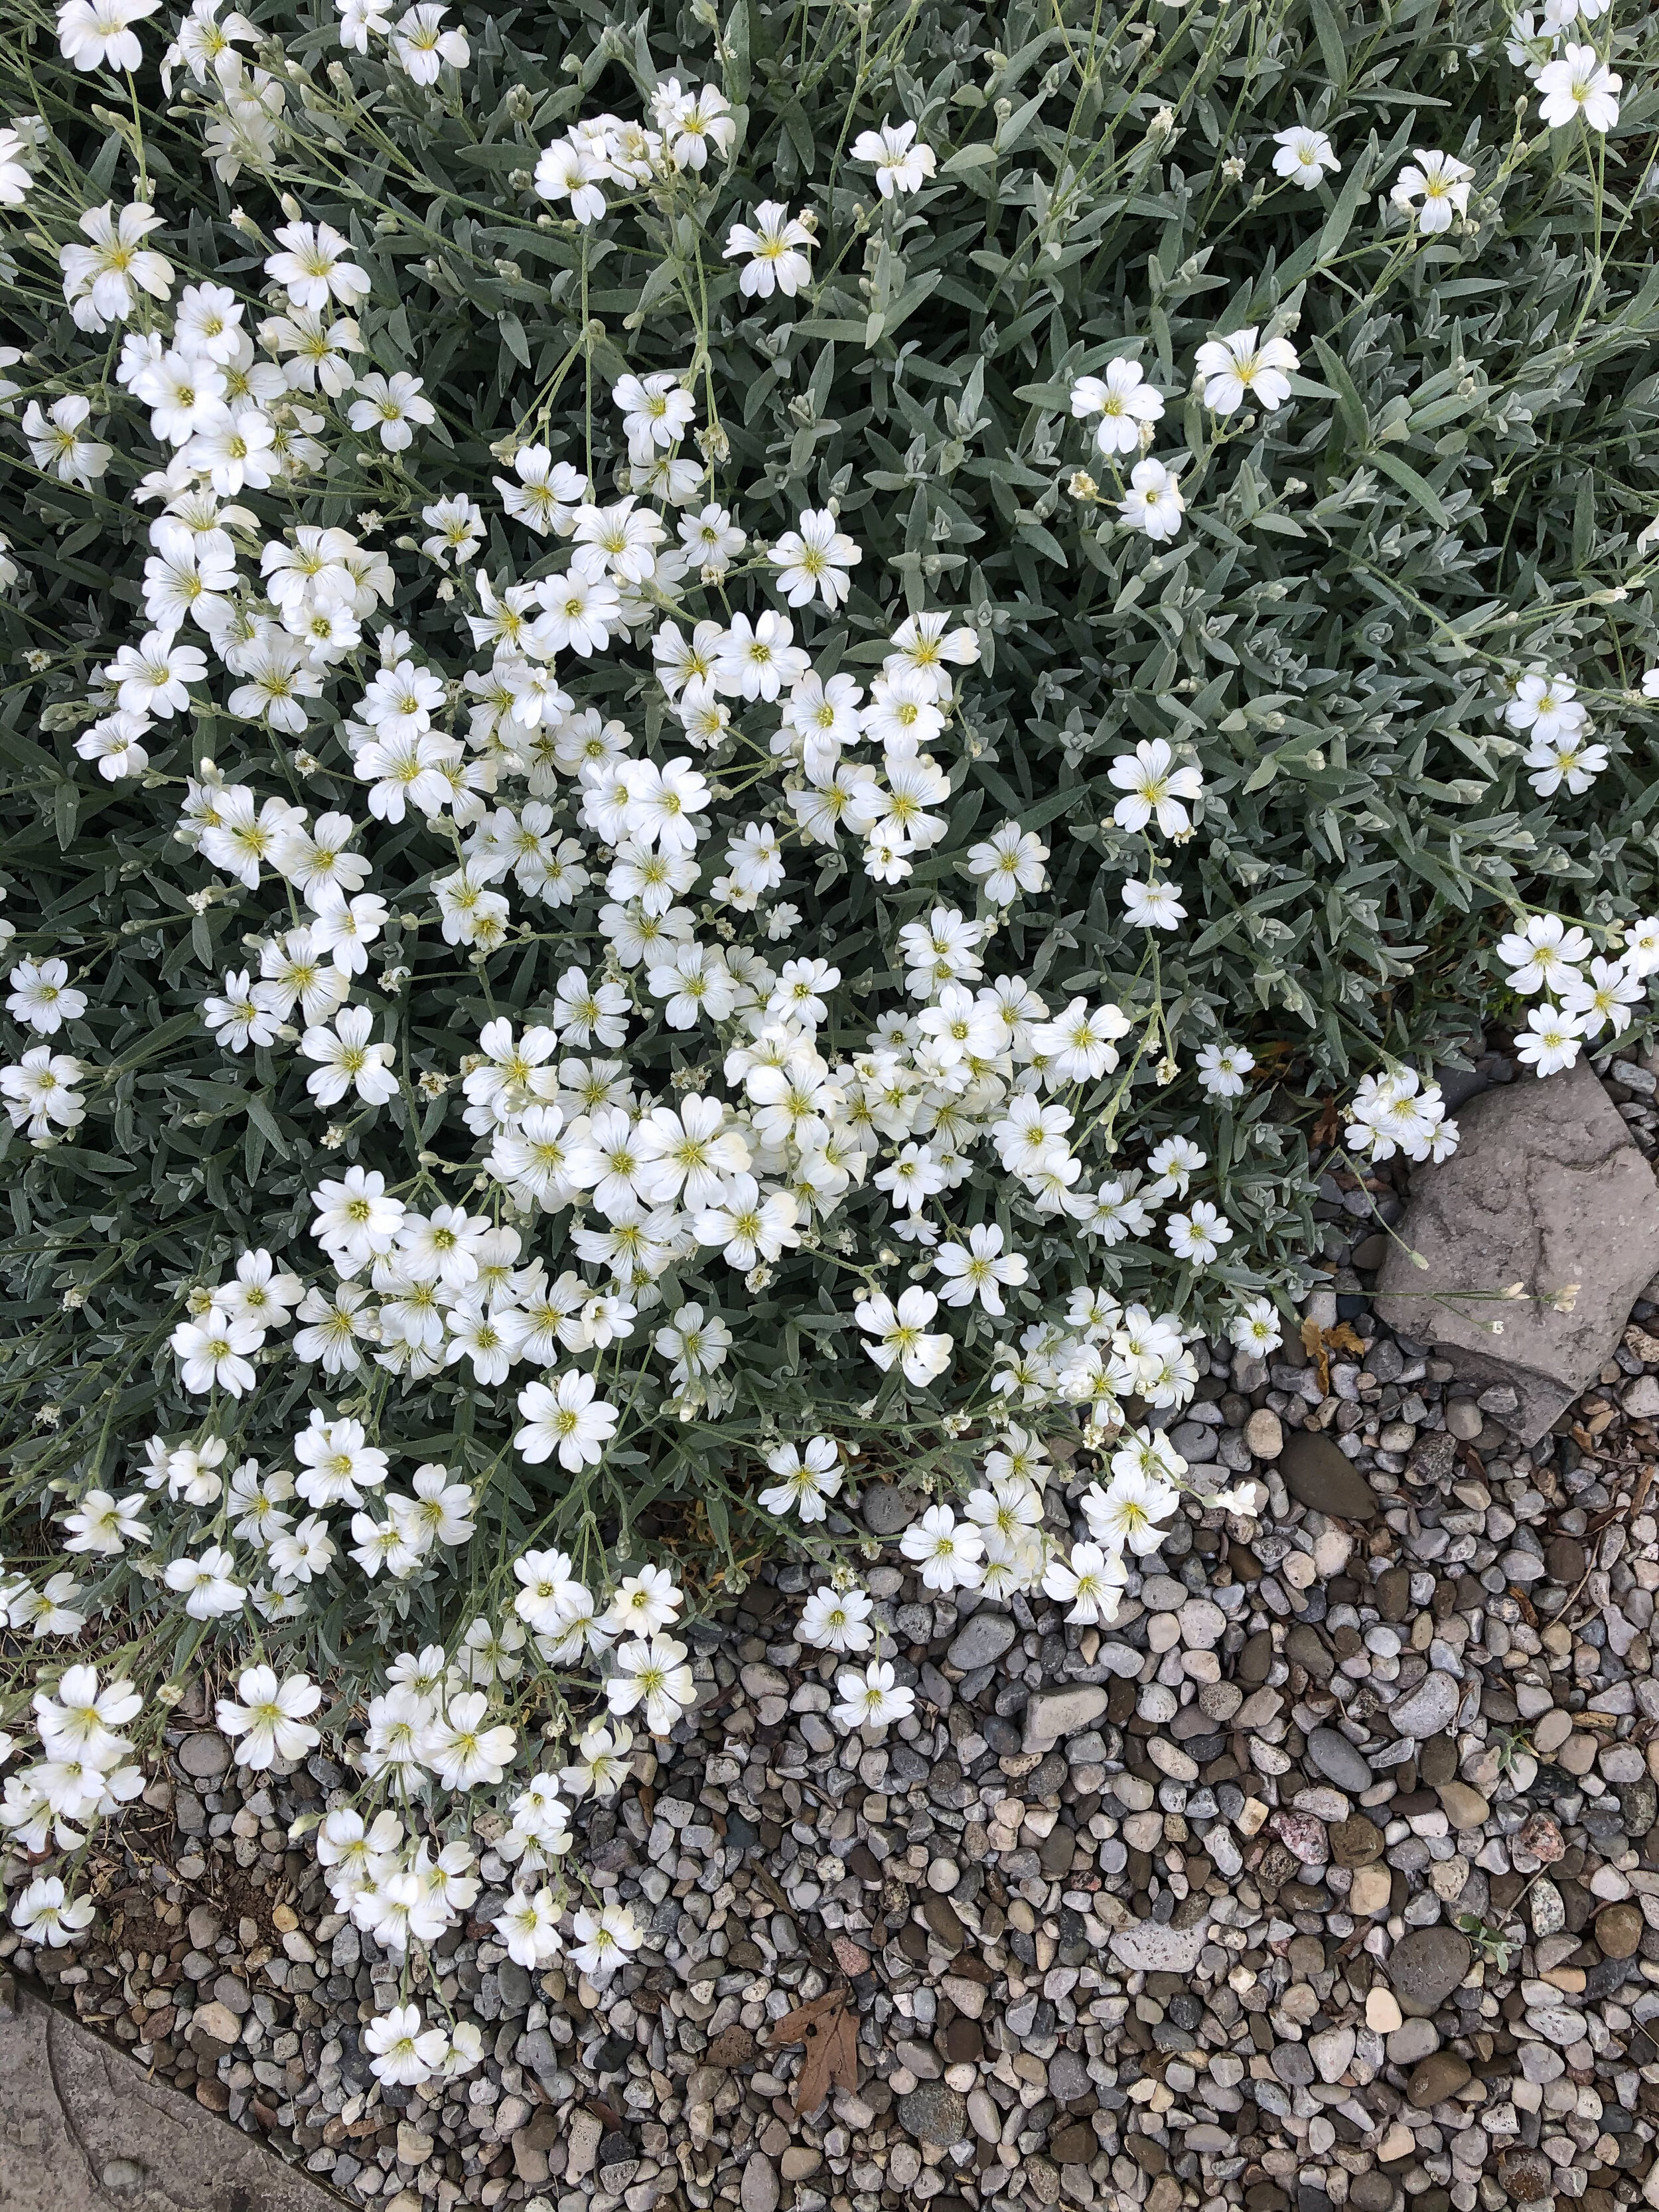
We have ours spilling out over our main garden pathway of pea gravel and blue flagstone where its silver-grey foliage is able to shine year-round. I would say it gets full sun where it is in our garden with some late afternoon shade.
It just loves the hot sun beating on it and reflecting up off the stone. The plants can take foot traffic and never really get out of hand in our garden.
Apparently, if it’s too happy where it is growing, it can become invasive. The combination of reseeding itself and sending out runners can make the plant a little bit of a problem in some areas.
If you are concerned about it running out of control, a 5- or 6-inch deep edge should keep it in check.
It is not particular about the soil it grows in and seems perfectly happy growing into our pea gravel where it is easy to remove and divide.
Here is an added bonus: it’s among the deer resistant family of plants woodland gardeners prize so dearly.
Looking for more information on ground covers? Please check out my other posts on ground covers I use in the woodland garden.
• Bunchberry perfect ground cover for woodland garden
• What is the easiest ground cover to grow?
• Three great ground covers for the woodland garden.
• Creeping thyme as a ground cover
• Moss and moss-like ground covers
Five more great ground covers for sunny areas
Lamb’s Ear (stachys byzantina)
Catmint (Nepeta)
Contoneaster (Contoneaster horizontalis)
Creeping Juniper (Juniperus horizontalis)
Silver Mound Artemisia (Artemisia schmidtiana)
Although this is the only spot in our garden where this plant is growing, I’m noticing that it has jumped over, around or under, our wild geranium and has taken a second spot beneath one of our bird baths along the same pea-gravel path.
That’s fine with us, it can be easily trimmed back before it decides to continue its march elsewhere.
It’s best to divide these plants shortly after flowering, when you are cutting off the spent blooms and tidying it up.
Established plants may be propagated by division in the fall or by cuttings.
Space the snow in summer flower 12 to 24 inches apart to give plenty of room for spread. Mature plants grow to between 6 and 12 inches and have a spread of 12 to 18 inches.
Originally from Europe and western Asia, these plants can actually be pushed to grow in zones 8-10 as well, but growing in these zones they may be short-lived.
The plants silver-grey foliage gives away their overall toughness in the landscape being more or less heat tolerant. They do better in a dry, sunny heat situation rather than in humid conditions.
In fact, we are growing ours in more of a rock-garden style than as a border plant in a traditional garden, where it also excels.
These plants are said to be salt tolerant. If you are lucky enough to live by the sea, give them a try. They can be considered an invasive plant in some warmer climates so check with local authorities before planting.
Photographing these flowers in your garden
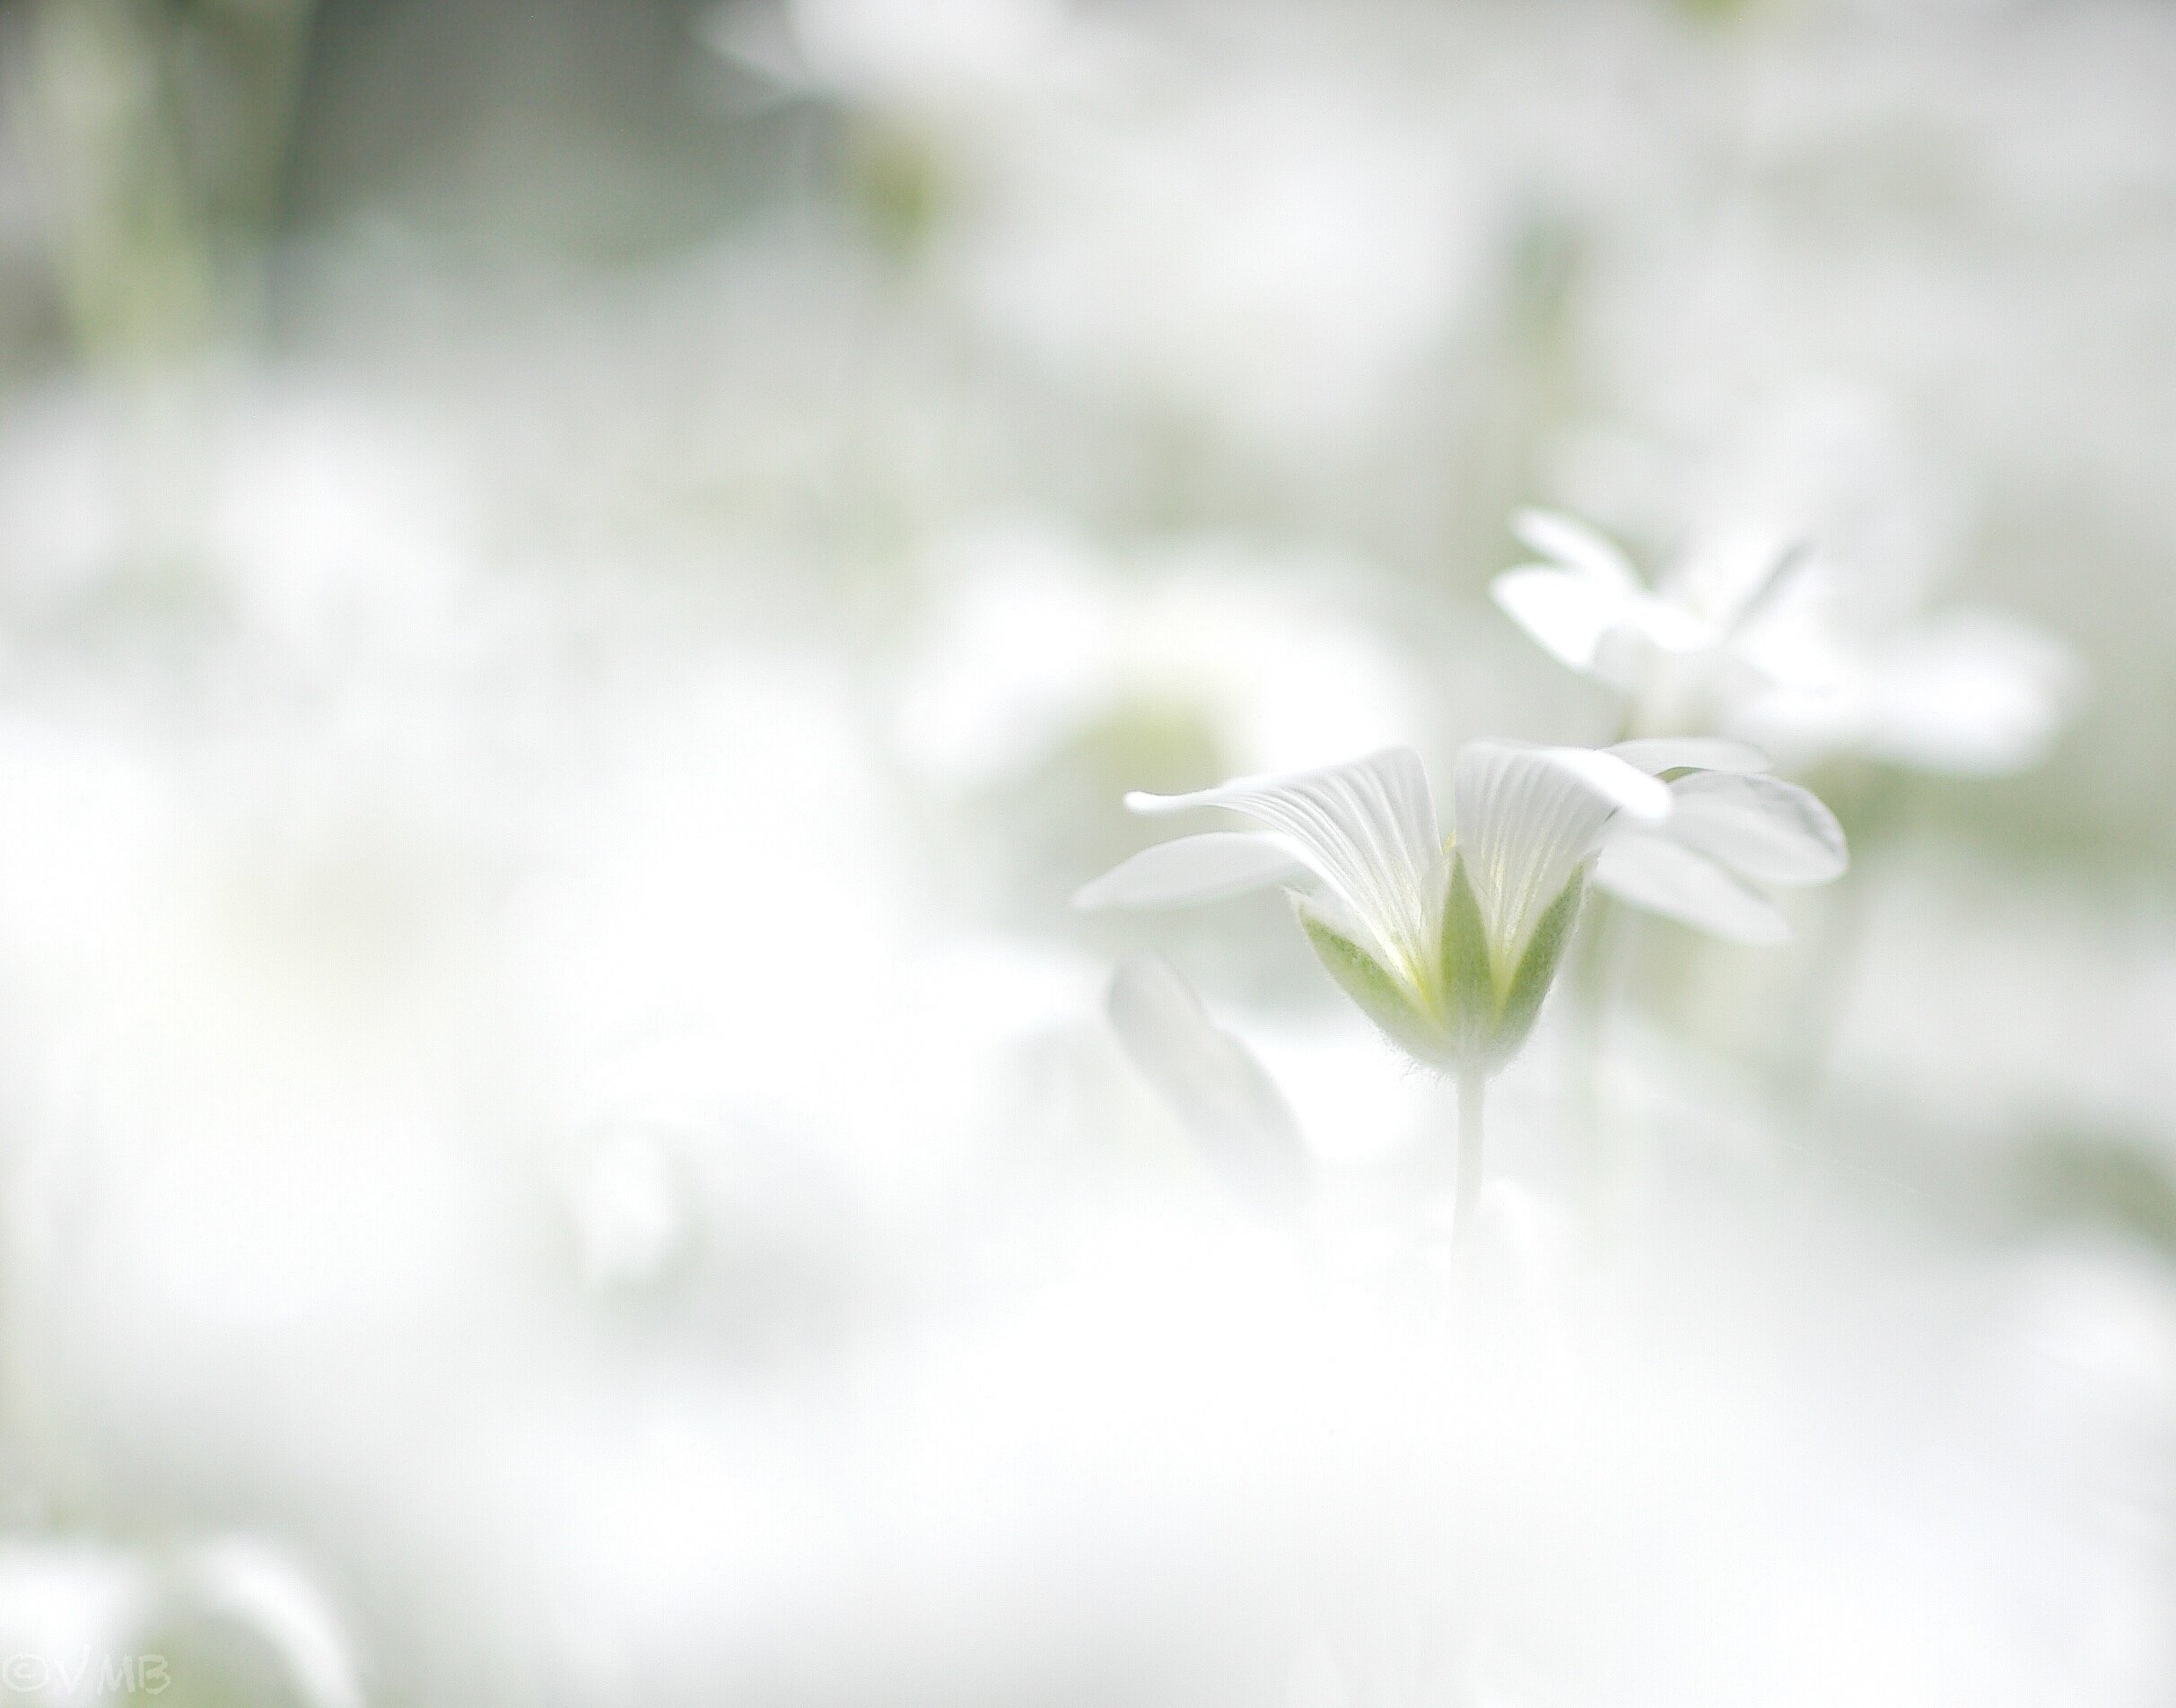
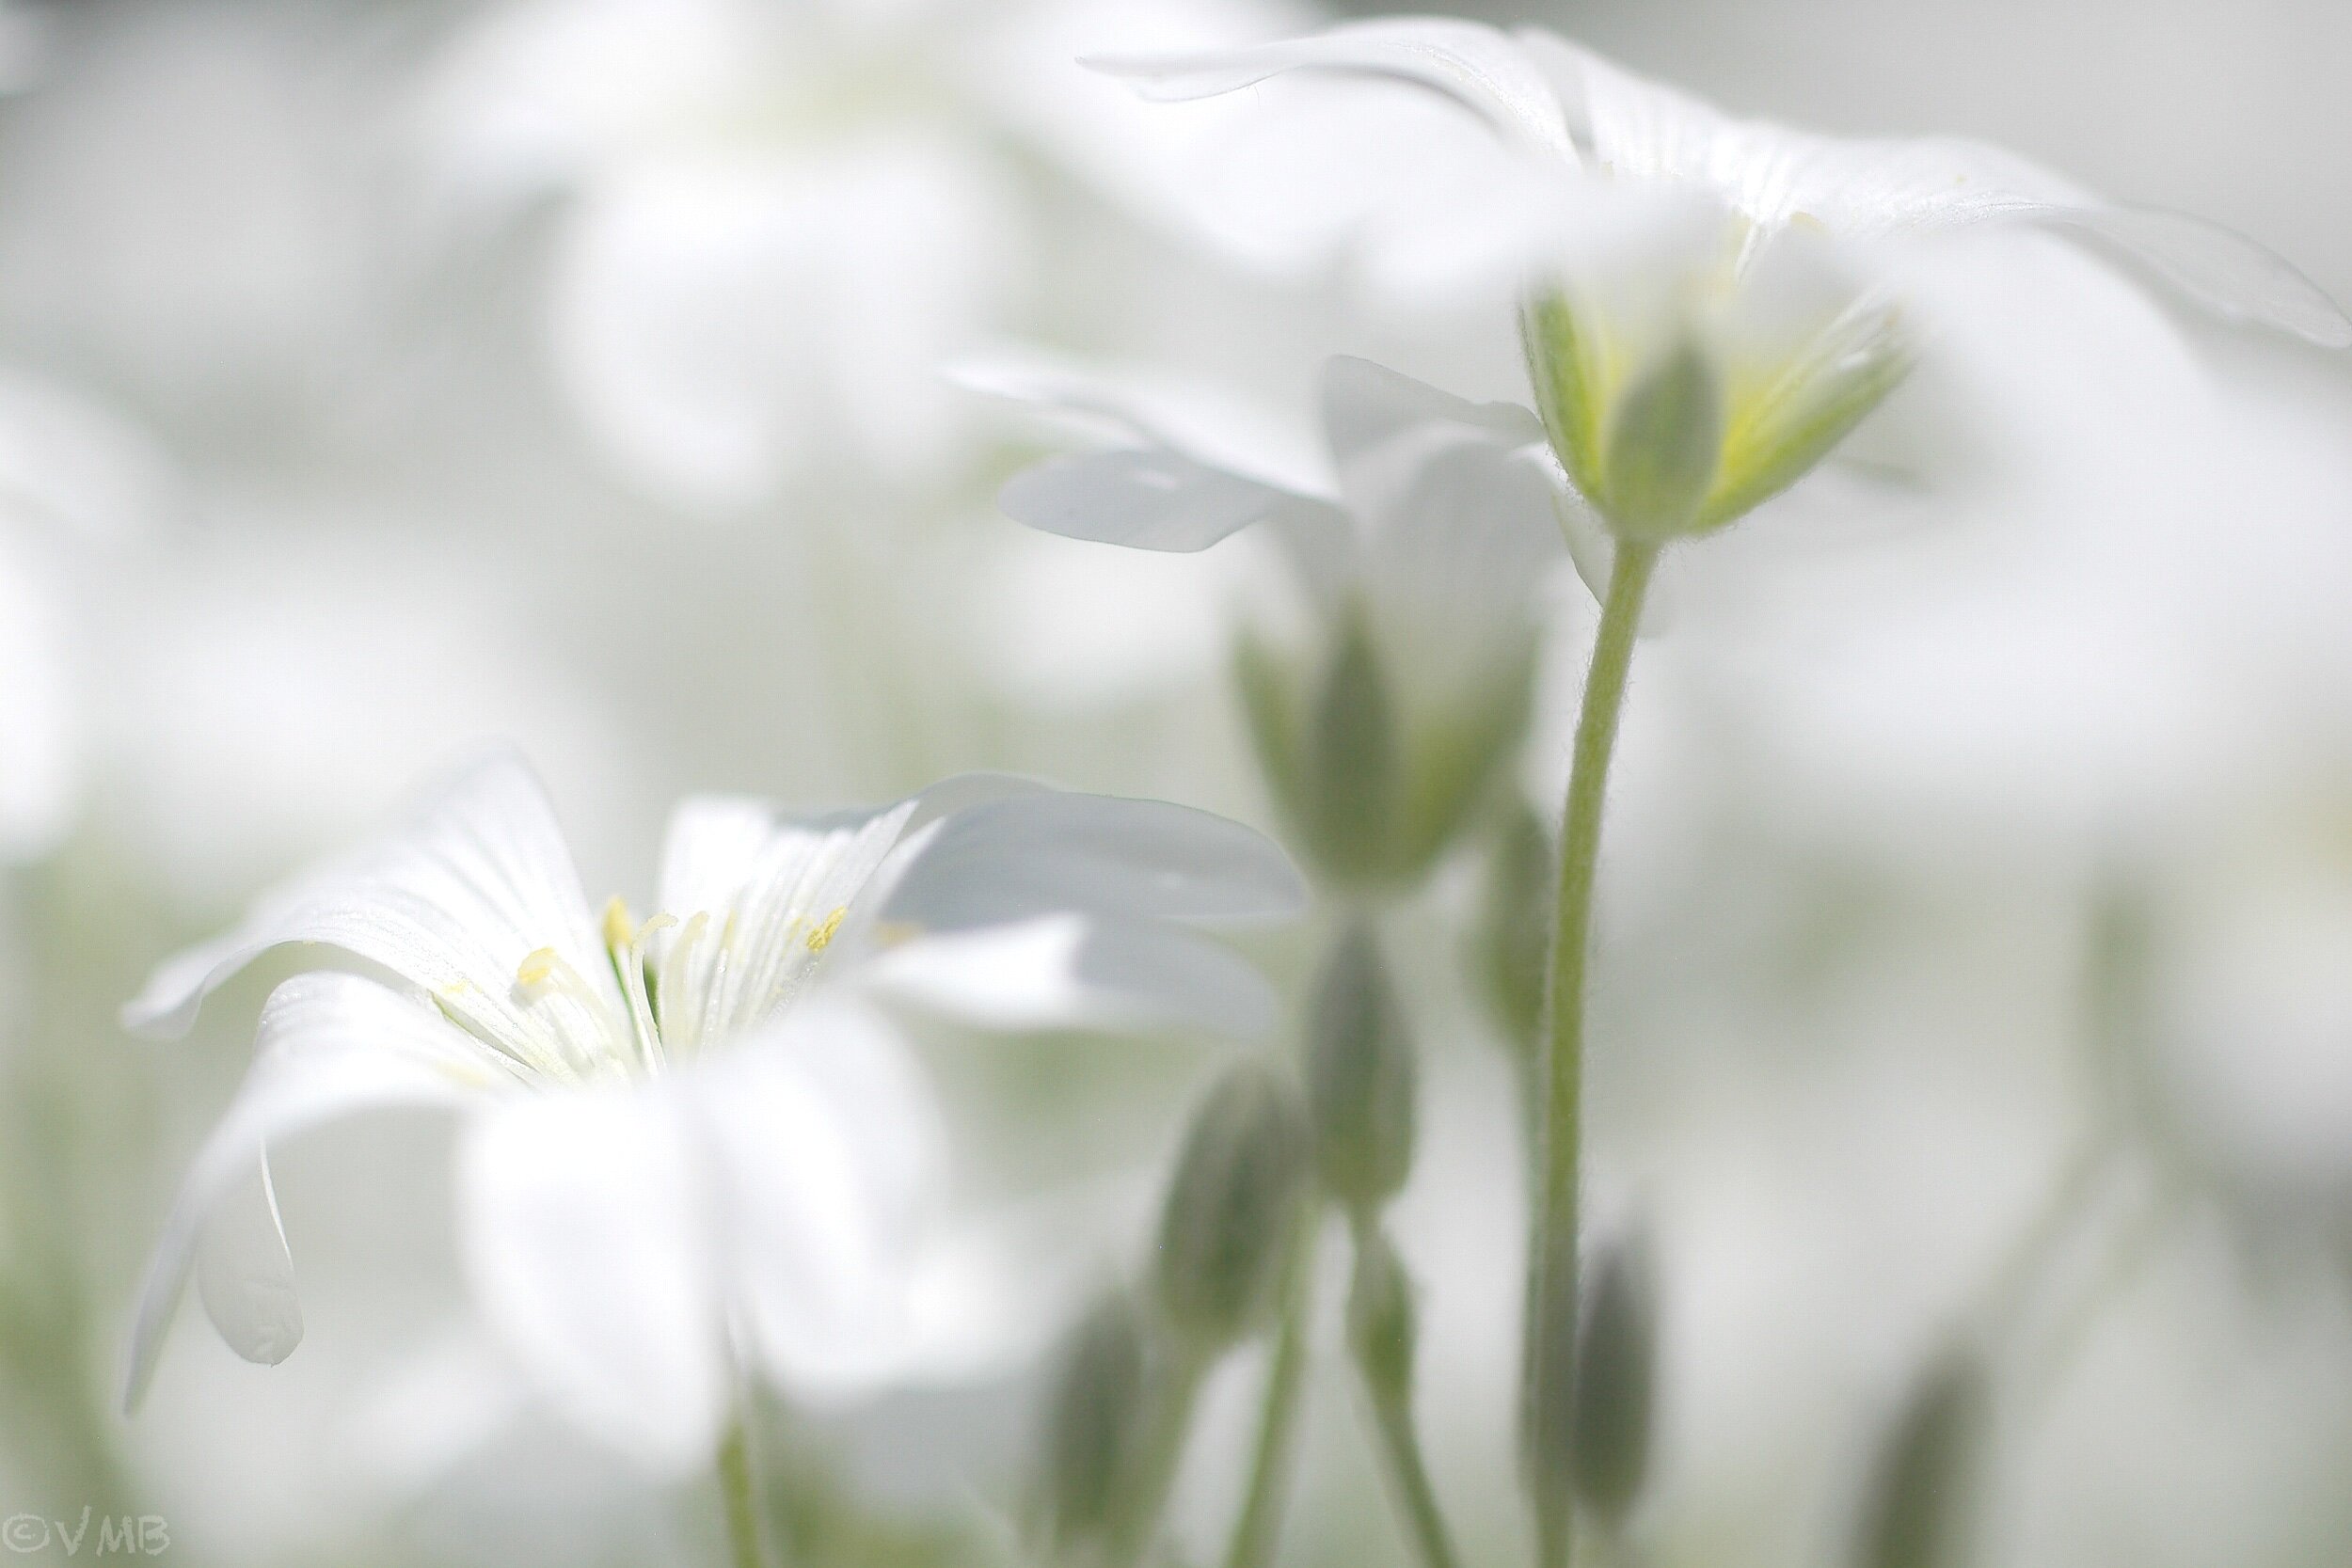
Snow in Summer is an excellent plant to experiment with photographically. It’s soft grey foliage and delicate white flowers makes it an ideal candidate to try “selective focus.” This creative style of photography uses a high-key, dreamy effect to create ethereal images.
Using fast, close-focusing lenses that are opened up to as much as f2.8 will create these effects.
Point-and-shoot tip: If you are using a point-and-shoot camera, consider using the “high-key” mode filter, which is usually built into theses cameras, to help you create the light and airy effect.
These “selective focus” images were made in full sunlight with a 50mm f2.8 Pentax macro lens. I used an older manual focus lens but newer auto focus lenses are available. Expect to spend a few dollars on these more specialty lenses.
Also available are 100mm macro lenses that enable photographers more control including a larger working distance to photograph insects and reptiles from farther back.
Many modern zoom lenses also offer a “macro” feature on them. These may work for some flowers, however their close-focusing abilities often fall just short of the mark and they are what we call “slow lenses”, meaning they only open up to f5.6 which is often not enough to give you the amount of out-of-focus effect you are looking for. In certain situations they would work, but if you are serious in pursuing this type of garden photography, consider splurging on a fast macro lens.
There are other ways to get close to flowers and insects in the garden that I’ll explore in later blogs, but trust me when I say true, fast macro lenses are the best way to go, if you want to explore this type of photography.
Macro lens is a good investment
I am lucky enough to own 3 macro lenses. All are older, manual focus lenses that still work on my digital cameras.
In these images, the camera’s settings had to be overridden about two f-stops to maintain the overall lightness of the image. If I had followed the camera meter, the image would have appeared muddy-grey rather than this delicate ethereal look.
Also, opening up the camera lens wide open to f2.8- f4, helps to keep the surrounding flowers completely out-of-focus with a nice dreamy look.
Shooting at f-8 or f16 would have created a sharper more documentary image of the flower, but that was not the look I was after.
Shooting the flowers with the lens wide open and in bright sunlight allowed me to shoot at a fast shutter speed without a tripod. Normally a small inexpensive tripod would be useful in an extreme closeup, but the shutter speed allowed me to shoot handheld.
Besides I don’t think my larger tripods would allow me to get this low to the ground. The situation forced me to lie on the ground and dig the camera into the pea gravel to get the best angles. (What we do to get the shot.)
For more on macro photography in the garden, check out my other posts including: Getting up close for flower and insect photography; Karen Hutton: Exploring the world of close-up photography.
Flowers that grow in profusion like this make for excellent “selective focus” subjects. Take advantage of these situations whenever possible.
Play with the camera settings a little until you get a feel for what works best. Using the camera’s overexposure compensation button is an easy way to change exposure in any camera mode.
These “selective focus” shots are difficult to do with a smart phone without the macro attachments I talked about in the previous blog and linked to here (macro lenses and other accessories.)
The photograph looking down at the plant from above, was taken with an iphone later in the day, after the area was in shade.
Taking this shot at mid-day would have created harsh shadows and likely made the image too contrasty and unuseable. If you must take a more documentary image in full sun, look for a way to shade the flower. White photo umbrellas would work wonderfully in this situation. They allow enough light to get through, yet remove the harsh shadows on the plant.
Once your subject is shaded, then consider using a reflector to bounce light back into the flowers. It could be as simple as a white card or a piece of tinfoil, but these 5 in 1 collapsible photo reflectors give you the flexibility to reflect light into your subjects at various levels and give you the option of reflecting warm, golden light if you are looking for an evening glow on your subject. They are easy to carry around and collapse into quite small, lightweight reflectors.
In my case, most of these accessories were not needed because the light grey pea gravel was able to bounce enough light back up into the flowers to keep that nice light airy feeling.
If the ground was soil or mulch, I would have used one of the collapsible reflectors to bounce the light back up into the plant. Probably the silver reflector would have brought the best results, but the white ones would have also worked well.
Photographing in our own gardens allows us to wait until the perfect times of day to get the best images possible. Keep an eye out for flowers or textures that are in their prime in your garden and try to capitalize on the proximity of your subject and the best light.
This page contains affiliate links. If you purchase a product through one of them, I will receive a commission (at no additional cost to you) I try to only endorse products I have either used, have complete confidence in, or have experience with the manufacturer. Thank you for your support. This blog would not be possible without your continued support.


